Homemade Lemon Bars
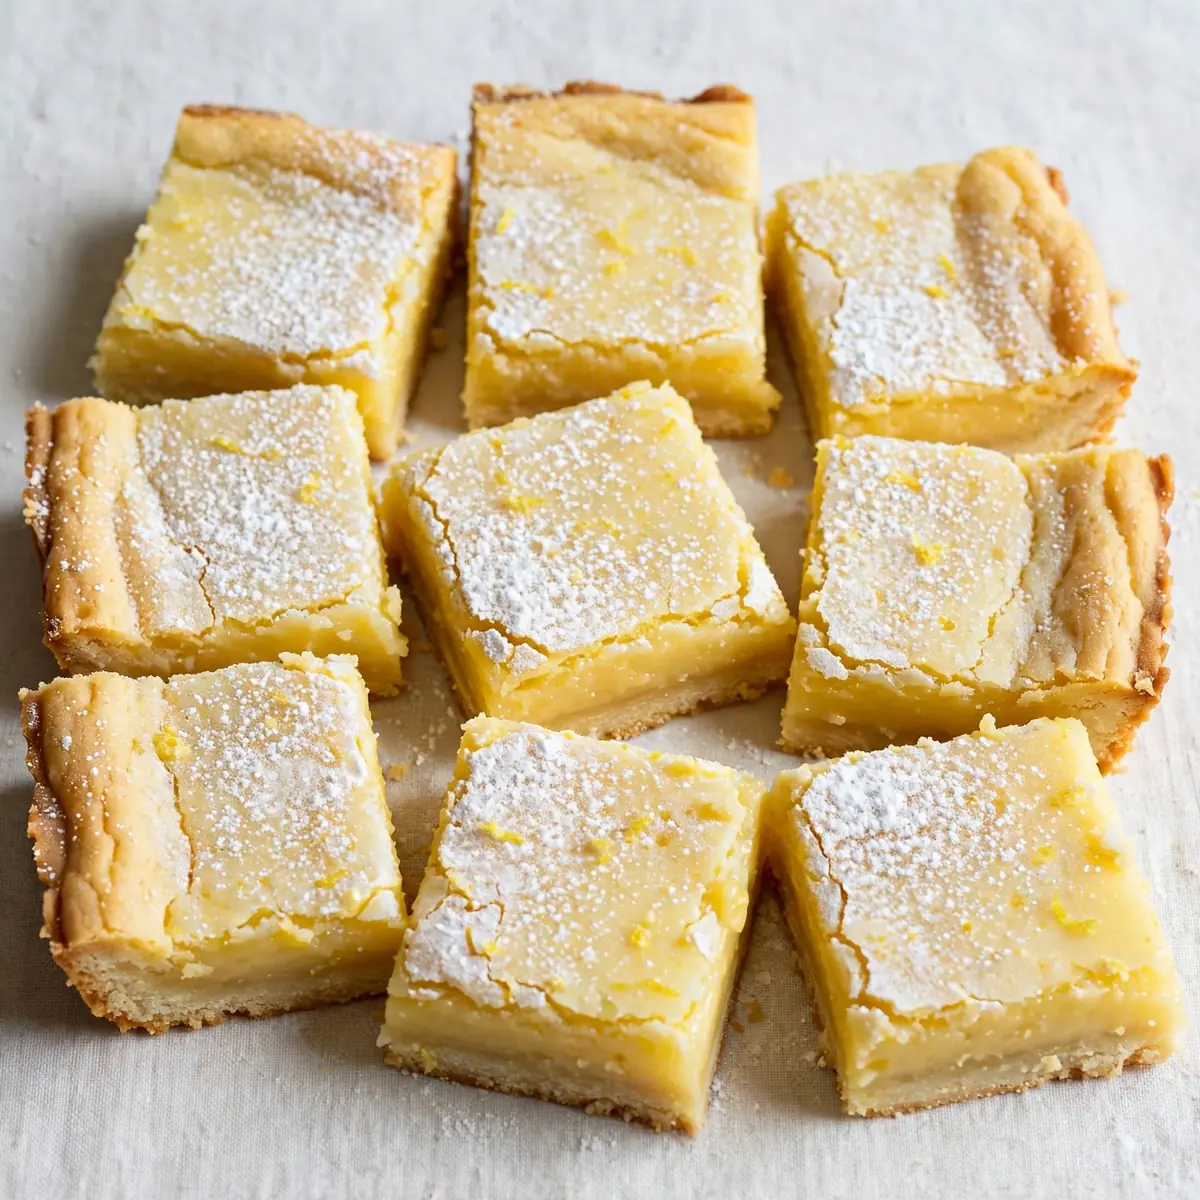
When the school run and after-work chores leave you with a whirlwind of a schedule, the last thing you need is a dessert that demands three bowls and an hour of your time. I’ve been making this for over 4 years, and it never disappoints as a fast, no-fuss solution for a sweet treat that still feels like a proper homemade bake. These Lemon Bars come together in the time it takes to help with homework, using one bowl and a single baking tin for minimal cleanup.
Recipe Overview
- Prep Time: 10 minutes
- Cook Time: 30 minutes
- Total Time: 40 minutes (plus 1 hour cooling)
- Servings: 16 bars
- Difficulty: Easy
Why You’ll Love This Homemade Lemon Bars
- One-Bowl Wonder: You only need one mixing bowl for the crust and one for the filling; fewer dishes mean more time relaxing after tea.
- Weeknight Quick: From start to slicing, active prep is under 15 minutes. The oven does the heavy lifting while you sort out the rest of dinner, or you can let a Slow Cooker Beef Barbacoa do the work for you instead.online/slow-cooker-mississippi-pot-roast/”>Slow Cooker Mississippi Pot Roast do the work for you instead.
- Make-Ahead Magic: These bars taste even better the next day, so you can bake them the night before or during a Sunday afternoon slump.
- No Fancy Kit: If you own a baking dish, a whisk, and a citrus juicer, you’re ready to go. No stand mixers or food processors required.
- Naturally Refreshing: The bright, zesty flavour cuts through the richness of a weeknight meal, leaving you satisfied without feeling heavy.
Ingredients You’ll Need
- 200g plain flour
- 100g unsalted butter, cold and cubed
- 50g icing sugar, plus extra for dusting
- Pinch of salt
- 3 large eggs
- 200g caster sugar
- 120ml freshly squeezed lemon juice (about 3-4 lemons)
- 1 tablespoon lemon zest (from about 2 lemons)
- 2 tablespoons plain flour (for the filling)
- 1 teaspoon vanilla extract
Tip: For the brightest, most aromatic flavour, always use unwaxed lemons when zesting. The zest holds the essential oils that give these bars their signature zing, and waxed lemons can affect the texture of your filling.
How to Make Homemade Lemon Bars
- Preheat the oven to 180°C (fan 160°C) and line a 20cm x 20cm square baking tin with baking paper, leaving some overhang on two opposite sides. This overhang acts as handles later.
- Make the crust: In a medium bowl, rub the cold butter cubes into the 200g flour, 50g icing sugar, and salt using your fingertips. Work quickly until the mixture looks like coarse breadcrumbs with a few pea-sized butter lumps still visible. You should feel a slight greasiness on your fingers and see pale, sandy-textured crumbs.
- Press and bake: Tip the crust mixture into the prepared tin and press it down firmly and evenly with the back of a spoon or your knuckles. The surface should feel compact and smooth, with no loose crumbs. Bake for 18-20 minutes until the edges are just turning a pale golden brown and the centre feels dry to the touch. The kitchen will smell warm and biscuity.
- Whisk the filling: While the crust bakes, whisk the eggs and caster sugar together in a separate bowl until they’re pale, thick, and frothy—this takes about 1 minute. The mixture should look like a light, airy foam and feel silky between your fingers. Add the lemon juice, zest, 2 tablespoons flour, and vanilla, then whisk again until smooth. You’ll notice the mixture thins slightly and smells intensely of fresh lemons.
- Bake the filling: As soon as the crust comes out of the oven, pour the lemon filling directly onto the hot crust. The hot base helps the filling set evenly. Bake for 18-20 minutes more. The filling will look set around the edges but will still have a slight wobble in the centre when you gently shake the tin. The top should be a pale, glossy yellow, and the aroma will be sharp and sweet.
- Cool completely: Remove the tin from the oven and place it on a wire rack. Let the bars cool to room temperature for at least 1 hour—the filling will firm up as it cools. For the cleanest slices, chill the tin in the fridge for another 30 minutes. The filling should feel firm and bouncy to the touch, not sticky or runny.
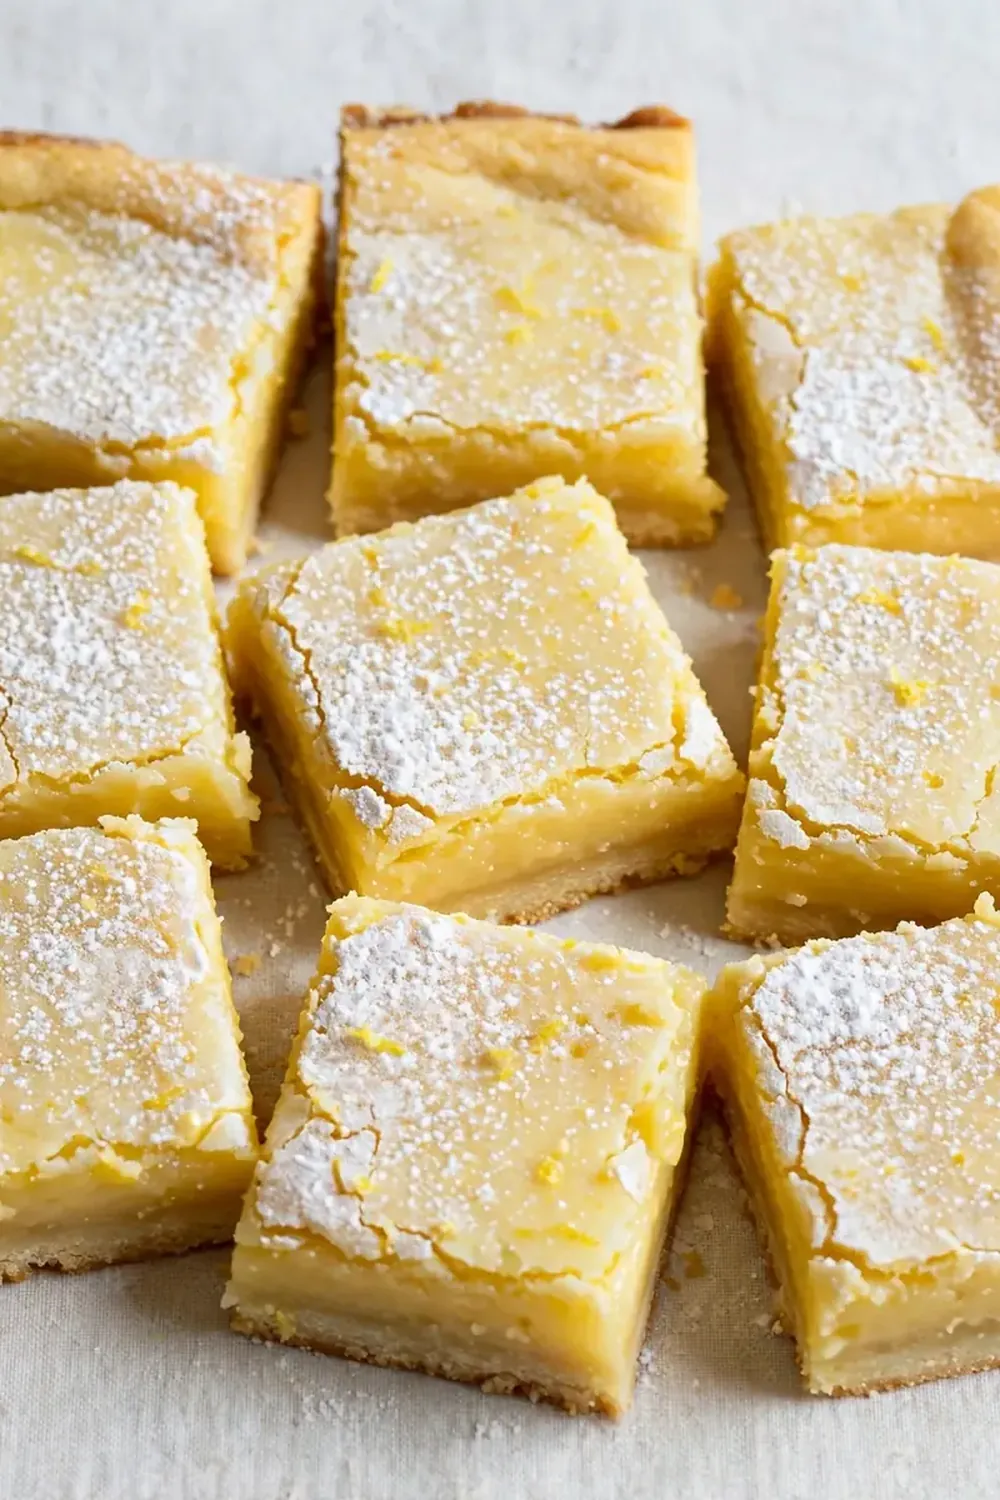
- Slice and dust: Using the baking paper overhang, lift the entire block out of the tin onto a cutting board. Use a sharp, wet knife to slice into 16 squares, wiping the blade clean between cuts. Dust generously with icing sugar just before serving. The sugar will create a fine, snowy layer that contrasts with the glossy yellow filling.
Tips From My Kitchen
- Cold butter is non-negotiable: The crust relies on cold butter to create a flaky, tender texture. If your butter softens while you’re rubbing it in, pop the bowl in the fridge for 5 minutes. Warm butter melts into the flour too quickly, creating a dense, greasy base instead of a crisp one.
- Don’t over-bake the filling: The centre should still jiggle slightly when you pull it from the oven. Over-baking turns the filling into a rubbery, curdled mess. The residual heat in the tin will finish setting the centre as it cools, so trust the wobble.
- Zest before juicing: Always zest your lemons before you juice them. A whole lemon is much easier to grate, and you won’t end up with soggy, difficult-to-zest fruit. Roll the lemons on the counter with your palm before juicing to release more juice.
- Line the tin properly: Use a single sheet of baking paper that overhangs on two sides. This creates “handles” that let you lift the entire block out cleanly. If you skip this step, you’ll have to dig the bars out with a spatula, and they’ll likely break apart.
- Chill for clean cuts: After cooling, a fridge stint of 30 minutes firms the filling just enough for razor-sharp slices. A warm bar will squish and smear when you cut it. Use a wet knife and wipe it between each cut for professional-looking edges.
Equipment You’ll Need
- 20cm x 20cm square baking tin
- Baking paper
- Mixing bowls (2 medium-sized)
- Citrus juicer or reamer
- Fine grater or zester
- Whisk
- Sharp knife
- Cooling rack
Common Mistakes to Avoid
- Overcrowding the pan: This doesn’t apply here as you’re using a single tin, but the principle matters for the crust. If you press the crust too thinly or unevenly, some areas will burn while others remain soft. Press it firmly and evenly into the corners so it bakes uniformly.
- Wrong temperature: Baking the filling at too high a temperature causes the eggs to scramble, leaving you with a curdled, separated top. Stick to 180°C (fan 160°C) and bake low and slow. If your oven runs hot, reduce the temperature by 10°C and check a few minutes early.
- Skipping the rest time: I know it’s tempting to dig in while the bars are still warm, but the filling needs time to set. Cutting into warm bars results in a soupy, messy puddle. Let them cool completely and chill if you can—the texture transforms from liquid to a firm, silky slice.
Delicious Variations to Try
- Spicy Version: Add ½ teaspoon of ground ginger and a pinch of cayenne pepper to the crust mixture. The warmth of the spices plays beautifully against the sharp lemon filling, giving a subtle heat that lingers on the finish.
- Vegan Option: Replace the butter with 100g of solid coconut oil (chilled and cubed) and use 3 tablespoons of cornflour mixed with 9 tablespoons of water as an egg substitute. The texture will be slightly firmer and more coconutty, but the bars still set beautifully.
- Different Protein: For a savoury twist, top the cooled bars with a sprinkle of flaky sea salt and serve alongside a simple grilled chicken salad. The salt enhances the citrus notes and makes these bars a surprising but welcome side to a light main like Turkey Meatloaf With Glaze.
What to Serve With Homemade Lemon Bars
These bars are brilliant on their own, but they pair wonderfully with a cup of strong black tea or a cold glass of sparkling water with mint. For a more substantial dessert, serve them with a dollop of Greek yoghurt or a scoop of vanilla ice cream. They also make a lovely finish after a hearty main like Kansas City Style Bbq Beef, where the tart lemon cuts through the richness of the meat.
- Fresh berries (raspberries or blueberries balance the sweetness)
- Iced tea or lemonade
- Whipped cream or crème fraîche
- Simple shortbread biscuits for extra crunch
Still hungry for ideas? You might also love No Bake Lemon Blueberry Bars from our sister kitchens.
Frequently Asked Questions
Homemade Lemon Bars
Ingredients
Method
-
Preheat the oven to 180°C (fan 160°C) and line a 20cm x 20cm square baking tin with baking paper, leaving some overhang on two opposite sides. This overhang acts as handles later.
-
Make the crust: In a medium bowl, rub the cold butter cubes into the 200g flour, 50g icing sugar, and salt using your fingertips. Work quickly until the mixture looks like coarse breadcrumbs with a few pea-sized butter lumps still visible. You should feel a slight greasiness on your fingers and see pale, sandy-textured crumbs.
-
Press and bake: Tip the crust mixture into the prepared tin and press it down firmly and evenly with the back of a spoon or your knuckles. The surface should feel compact and smooth, with no loose crumbs. Bake for 18-20 minutes until the edges are just turning a pale golden brown and the centre feels dry to the touch. The kitchen will smell warm and biscuity.
-
Whisk the filling: While the crust bakes, whisk the eggs and caster sugar together in a separate bowl until they’re pale, thick, and frothy—this takes about 1 minute. The mixture should look like a light, airy foam and feel silky between your fingers. Add the lemon juice, zest, 2 tablespoons flour, and vanilla, then whisk again until smooth. You’ll notice the mixture thins slightly and smells intensely of fresh lemons.
-
Bake the filling: As soon as the crust comes out of the oven, pour the lemon filling directly onto the hot crust. The hot base helps the filling set evenly. Bake for 18-20 minutes more. The filling will look set around the edges but will still have a slight wobble in the centre when you gently shake the tin. The top should be a pale, glossy yellow, and the aroma will be sharp and sweet.
-
Cool completely: Remove the tin from the oven and place it on a wire rack. Let the bars cool to room temperature for at least 1 hour—the filling will firm up as it cools. For the cleanest slices, chill the tin in the fridge for another 30 minutes. The filling should feel firm and bouncy to the touch, not sticky or runny.
-
Slice and dust: Using the baking paper overhang, lift the entire block out of the tin onto a cutting board. Use a sharp, wet knife to slice into 16 squares, wiping the blade clean between cuts. Dust generously with icing sugar just before serving. The sugar will create a fine, snowy layer that contrasts with the glossy yellow filling.
Notes
This is my go-to recipe when I need something quick but impressive, and I hope it becomes yours too. If you give these Lemon Bars a try, I’d love to hear how they turned out—drop a comment below and tell me if you made any fun variations. And if you’re looking for more weeknight-friendly ideas, don’t forget to browse our Dinner Recipes or Lunch Recipes for inspiration. Happy baking!