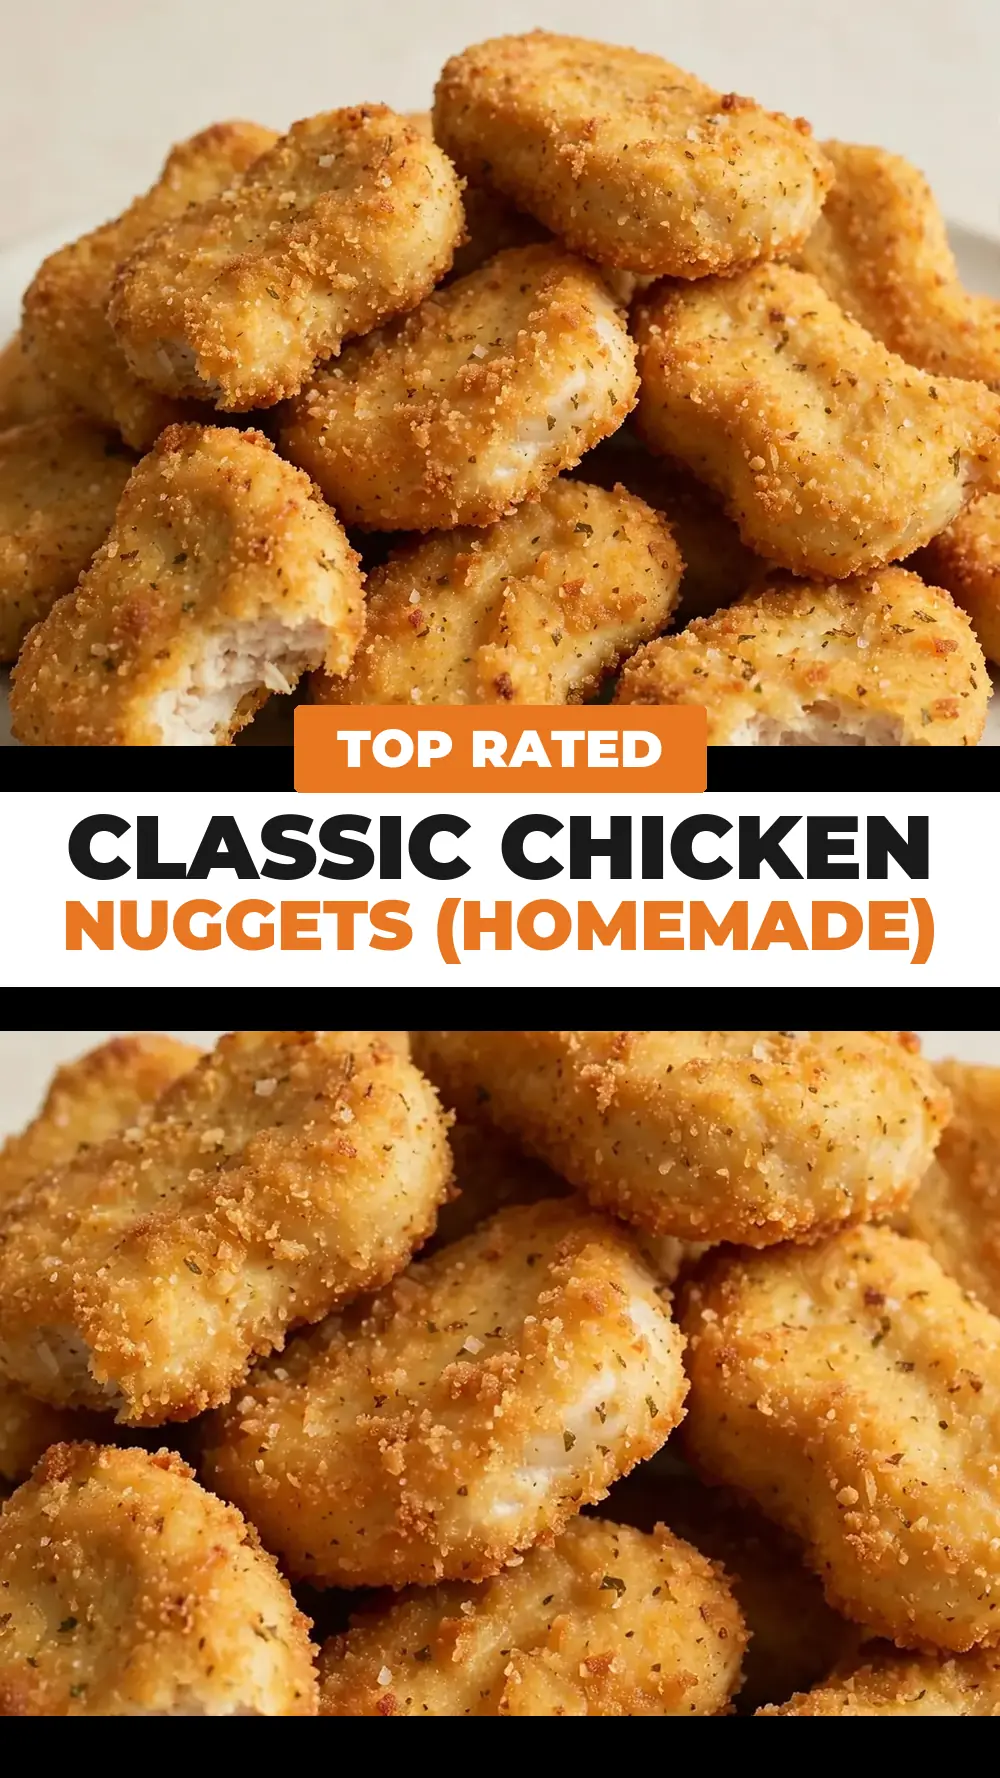
Classic Chicken Nuggets (Homemade)
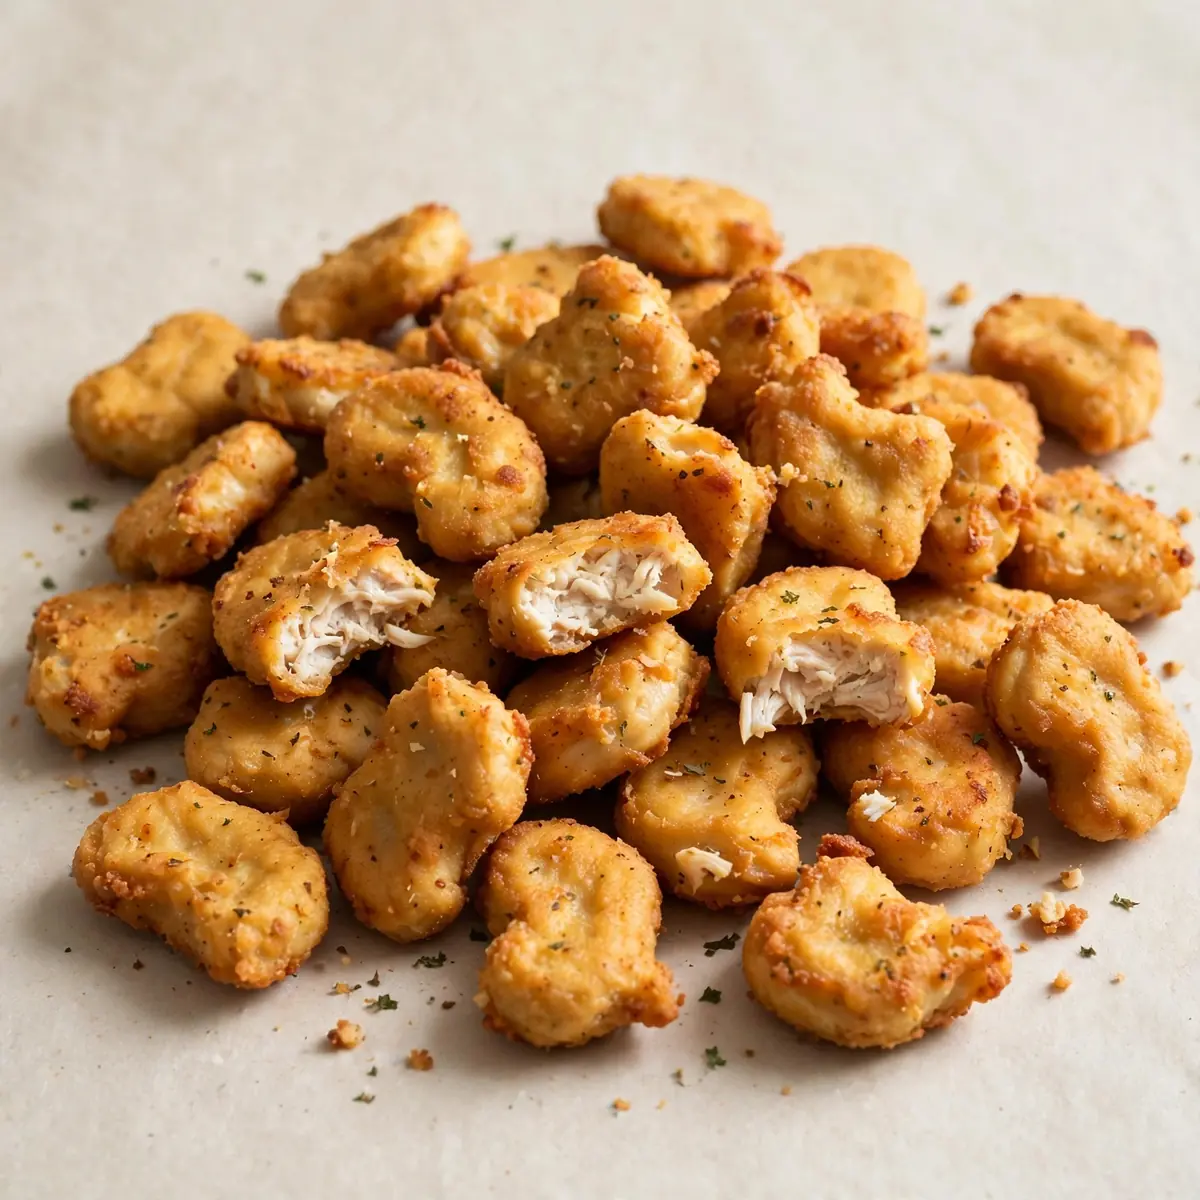
I remember the weekday scramble all too well: the clock ticking past six, hungry faces at the table, and the desperate hope that something both delicious and fast could materialise from the fridge. That’s exactly why I developed this recipe for Classic Chicken Nuggets (Homemade). It’s not about elaborate breading stations or deep-frying mess; it’s about getting a genuinely crispy, golden nugget onto the table in under 30 minutes with a single tray to wash up. Let’s get straight to it.
Recipe Overview
- Prep Time: 10 minutes
- Cook Time: 15-18 minutes
- Total Time: 28 minutes
- Servings: 4 (makes roughly 24 nuggets)
- Difficulty: Easy
Why You’ll Love This Classic Chicken Nuggets (Homemade)
- Ready in under half an hour: From fridge to table in 28 minutes flat, this recipe respects your busy schedule.
- Minimal washing up: We use a single bowl for the coating and a lined baking tray — no multiple dishes to scrub.
- Properly crunchy without deep-frying: The oven method gives you that satisfying crackle without the oil splatter or lingering smell.
- Freezer-friendly for busy weeks: Make a double batch and freeze half; you’ll have a homemade dinner ready in minutes on your most hectic nights.
- Kids and adults actually agree: I stumbled upon this combination by accident, and it’s been a hit ever since — even picky eaters ask for seconds.
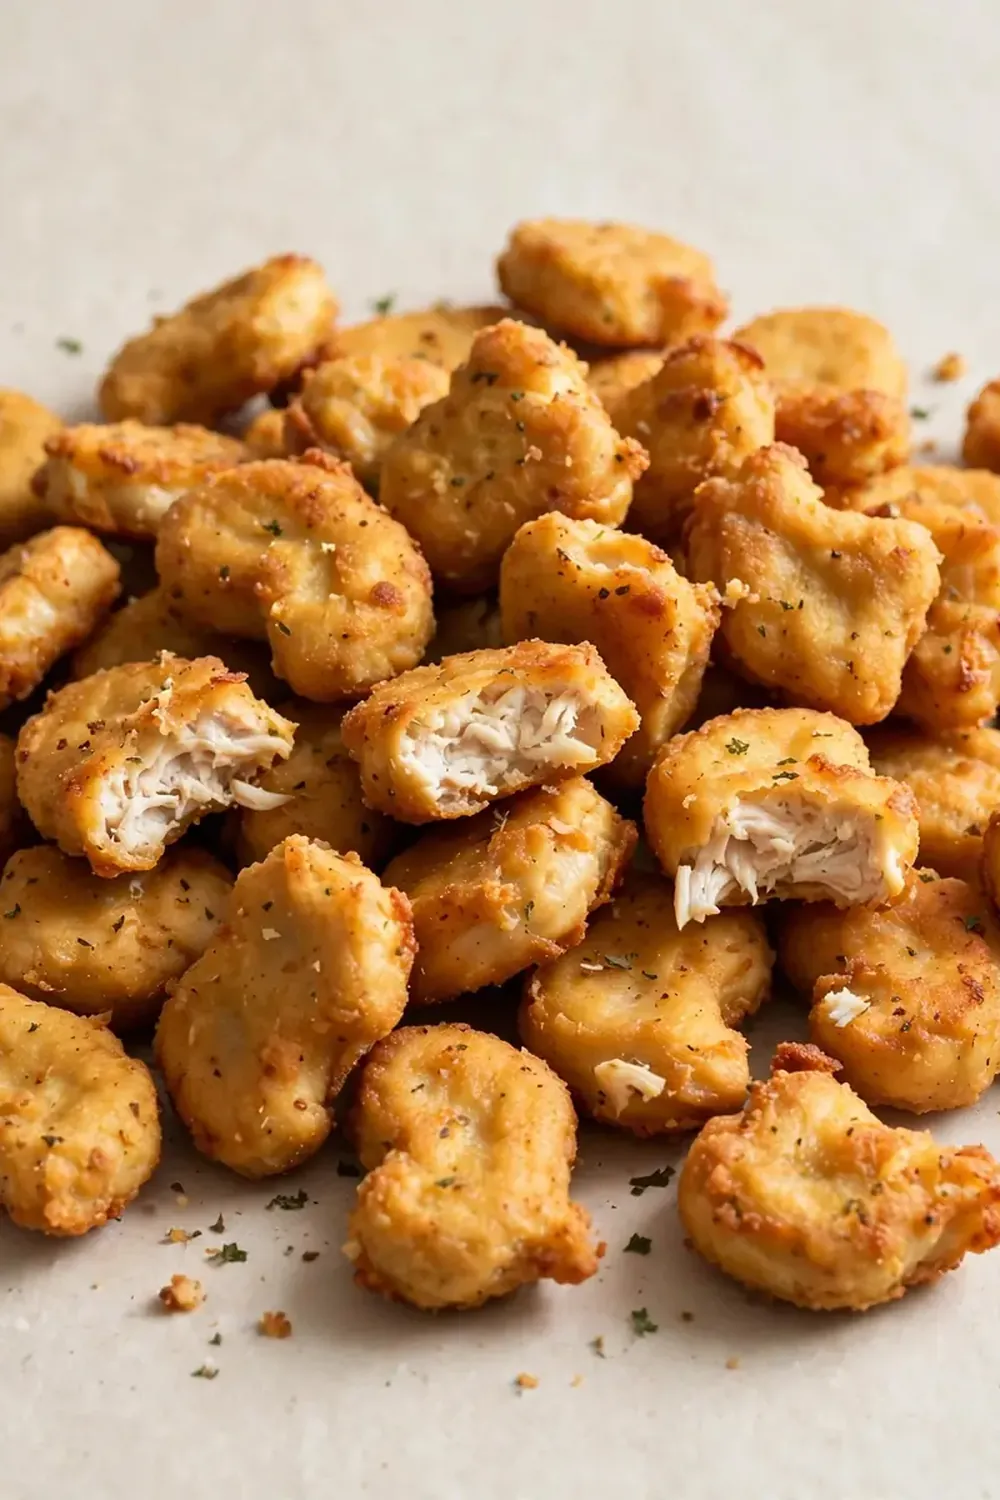
Ingredients You’ll Need
- 500g boneless, skinless chicken breasts or thighs
- 100g plain flour (all-purpose)
- 1 teaspoon garlic powder
- 1 teaspoon paprika (smoked or sweet)
- ½ teaspoon fine sea salt
- ¼ teaspoon freshly ground black pepper
- 2 large eggs
- 120g panko breadcrumbs (or regular breadcrumbs)
- 30g grated Parmesan cheese (optional, but adds savoury depth)
- 2 tablespoons olive oil or melted unsalted butter
Tip: For the crunchiest result, use panko breadcrumbs — their irregular shape creates far more texture than standard breadcrumbs. If you’re out of Parmesan, a pinch of nutritional yeast works beautifully for that savoury note.
How to Make Classic Chicken Nuggets (Homemade)
- Preheat and prepare: Set your oven to 200°C (180°C fan) or 400°F. Line a large baking tray with baking paper — this step is non-negotiable for easy cleanup. The paper should look crisp and flat against the tray.
- Cut the chicken: Pat the chicken dry with kitchen paper. Cut into bite-sized pieces, roughly 3-4cm each. You want them uniform so they cook evenly. The pieces should feel slightly firm and not slippery.
- Set up the coating station: In a shallow bowl, mix the flour, garlic powder, paprika, salt, and pepper. In a second bowl, beat the eggs until they’re a uniform pale yellow and feel slightly thick when you lift the fork. In a third bowl, combine the panko breadcrumbs, Parmesan, and olive oil, rubbing the oil through with your fingertips until the crumbs feel slightly damp and clump together.
- Coat the chicken: Working one piece at a time, dip the chicken into the seasoned flour, shaking off any excess — you want a thin, even dusting. Then dip into the egg, letting any drip off. Finally, press firmly into the breadcrumb mixture, ensuring every surface is covered. The nugget should look dry and textured, not wet or patchy.
- Arrange on the tray: Place each coated nugget on the lined tray, leaving a 2cm gap between each piece. If they’re touching, they’ll steam rather than crisp. You should hear a faint rustle from the breadcrumbs as you set them down.
- Bake until golden: Bake for 15-18 minutes, flipping halfway through. At the 10-minute mark, the kitchen will smell toasty and savoury. When done, the nuggets should be deep golden brown and the coating should feel firm and crisp to a light touch. The chicken should reach an internal temperature of 74°C.
- Rest briefly before serving: Let the nuggets sit on the tray for 2 minutes — this lets the coating set completely. They should feel crunchy when you pick one up, and the centre should be steaming and juicy.
Tips From My Kitchen
- Pat the chicken bone-dry: Moisture is the enemy of crispness. Before you cut the chicken, press it firmly with several layers of kitchen paper. If the surface is wet, the flour coating will turn into a paste rather than a dry base for the egg and breadcrumbs. You want the chicken to feel tacky, not slick.
- Use your fingertips for the breadcrumb mix: Rubbing the oil into the panko with your fingers does two things: it coats each crumb evenly for uniform browning, and it creates those little clusters that make the nuggets extra crunchy. The mixture should feel like slightly damp sand.
- Don’t skip the flip: Flipping the nuggets halfway through ensures both sides get direct heat and develop that even golden colour. If you forget, the bottom will be pale and soft while the top is dark. Set a timer at the 8-minute mark as a reminder.
- Make ahead for busy nights: You can prepare the nuggets up to the baking stage, then freeze them uncooked on the tray. Once frozen solid, transfer to a freezer bag. Bake from frozen, adding 5 minutes to the cooking time. This is my secret weapon for those days when even chopping vegetables feels like too much effort.
- Double up the tray trick: If you’re making a large batch, use two trays and place them on separate racks. Halfway through, swap the trays top to bottom and front to back. This ensures even browning without any nugget being left behind.
Common Mistakes to Avoid
- Overcrowding the pan: When nuggets are packed too tightly, they steam in the moisture they release, leaving you with a soggy coating instead of a crisp one. Always leave a 2cm gap between pieces. If you need to cook more, use a second tray or bake in batches — it’s worth the extra few minutes.
- Wrong temperature: An oven that’s too cool will slowly dry out the chicken before the coating crisps; an oven that’s too hot will burn the breadcrumb exterior while the inside remains undercooked. Stick to 200°C (180°C fan) and use an oven thermometer if your oven runs hot or cold. The nuggets should sizzle gently when they hit the tray.
- Skipping the rest time: Those two minutes of resting are not optional. Straight out of the oven, the steam inside the coating makes it fragile. Letting them sit allows the moisture to redistribute and the crust to set into a firm, breakable shell. You’ll hear a satisfying snap when you bite into a rested nugget.
Delicious Variations to Try
- Spicy Version: Add 1 teaspoon of cayenne pepper and ½ teaspoon of chilli flakes to the flour mixture. For extra heat, mix 1 tablespoon of hot sauce into the beaten eggs before coating. The heat will bloom in the oven, giving you a warm, lingering kick.
- Vegetarian/Vegan Option: Substitute the chicken with firm tofu, pressed and cut into nugget shapes, or use canned chickpeas, drained and mashed into patties. For the coating, use a flax egg (1 tablespoon ground flaxseed mixed with 3 tablespoons water) and swap the Parmesan for nutritional yeast. The texture will be softer but equally satisfying.
- Different Protein: Turkey breast works beautifully here — it’s leaner than chicken, so be careful not to overcook it. You can also use boneless, skinless fish fillets like cod or haddock; reduce the cooking time to 12-14 minutes and watch for the coating to turn a light gold. Friends always ask me for this version after trying it at dinner parties.
What to Serve With Classic Chicken Nuggets (Homemade)
- Simple green salad with a lemon vinaigrette
- Steamed broccoli or green beans tossed in butter
- Sweet potato wedges roasted alongside the nuggets
- Dipping sauces: honey mustard, barbecue sauce, or a mild salsa
- Soft flour tortillas for wrapping into nugget tacos
Still hungry for ideas? You might also love Crispy Homemade Chicken Nuggets Recipe from our sister kitchens.
Frequently Asked Questions
Classic Chicken Nuggets (Homemade)
Ingredients
Method
-
Preheat and prepare: Set your oven to 200°C (180°C fan) or 400°F. Line a large baking tray with baking paper — this step is non-negotiable for easy cleanup. The paper should look crisp and flat against the tray.
-
Cut the chicken: Pat the chicken dry with kitchen paper. Cut into bite-sized pieces, roughly 3-4cm each. You want them uniform so they cook evenly. The pieces should feel slightly firm and not slippery.
-
Set up the coating station: In a shallow bowl, mix the flour, garlic powder, paprika, salt, and pepper. In a second bowl, beat the eggs until they’re a uniform pale yellow and feel slightly thick when you lift the fork. In a third bowl, combine the panko breadcrumbs, Parmesan, and olive oil, rubbing the oil through with your fingertips until the crumbs feel slightly damp and clump together.
-
Coat the chicken: Working one piece at a time, dip the chicken into the seasoned flour, shaking off any excess — you want a thin, even dusting. Then dip into the egg, letting any drip off. Finally, press firmly into the breadcrumb mixture, ensuring every surface is covered. The nugget should look dry and textured, not wet or patchy.
-
Arrange on the tray: Place each coated nugget on the lined tray, leaving a 2cm gap between each piece. If they’re touching, they’ll steam rather than crisp. You should hear a faint rustle from the breadcrumbs as you set them down.
-
Bake until golden: Bake for 15-18 minutes, flipping halfway through. At the 10-minute mark, the kitchen will smell toasty and savoury. When done, the nuggets should be deep golden brown and the coating should feel firm and crisp to a light touch. The chicken should reach an internal temperature of 74°C.
-
Rest briefly before serving: Let the nuggets sit on the tray for 2 minutes — this lets the coating set completely. They should feel crunchy when you pick one up, and the centre should be steaming and juicy.
Notes
I hope these Classic Chicken Nuggets (Homemade) become your new weeknight go-to. They’ve certainly saved my sanity on more evenings than I can count. If you try them, I’d love to hear how they turned out — drop a comment below and let me know your family’s verdict. For more dinner inspiration that fits into a busy schedule, take a look at our Dinner Recipes collection, or try the Salisbury Steak With Mushroom Gravy for another hearty, hands-off meal. Happy cooking!