Honey Garlic Chicken Thighs Skillet
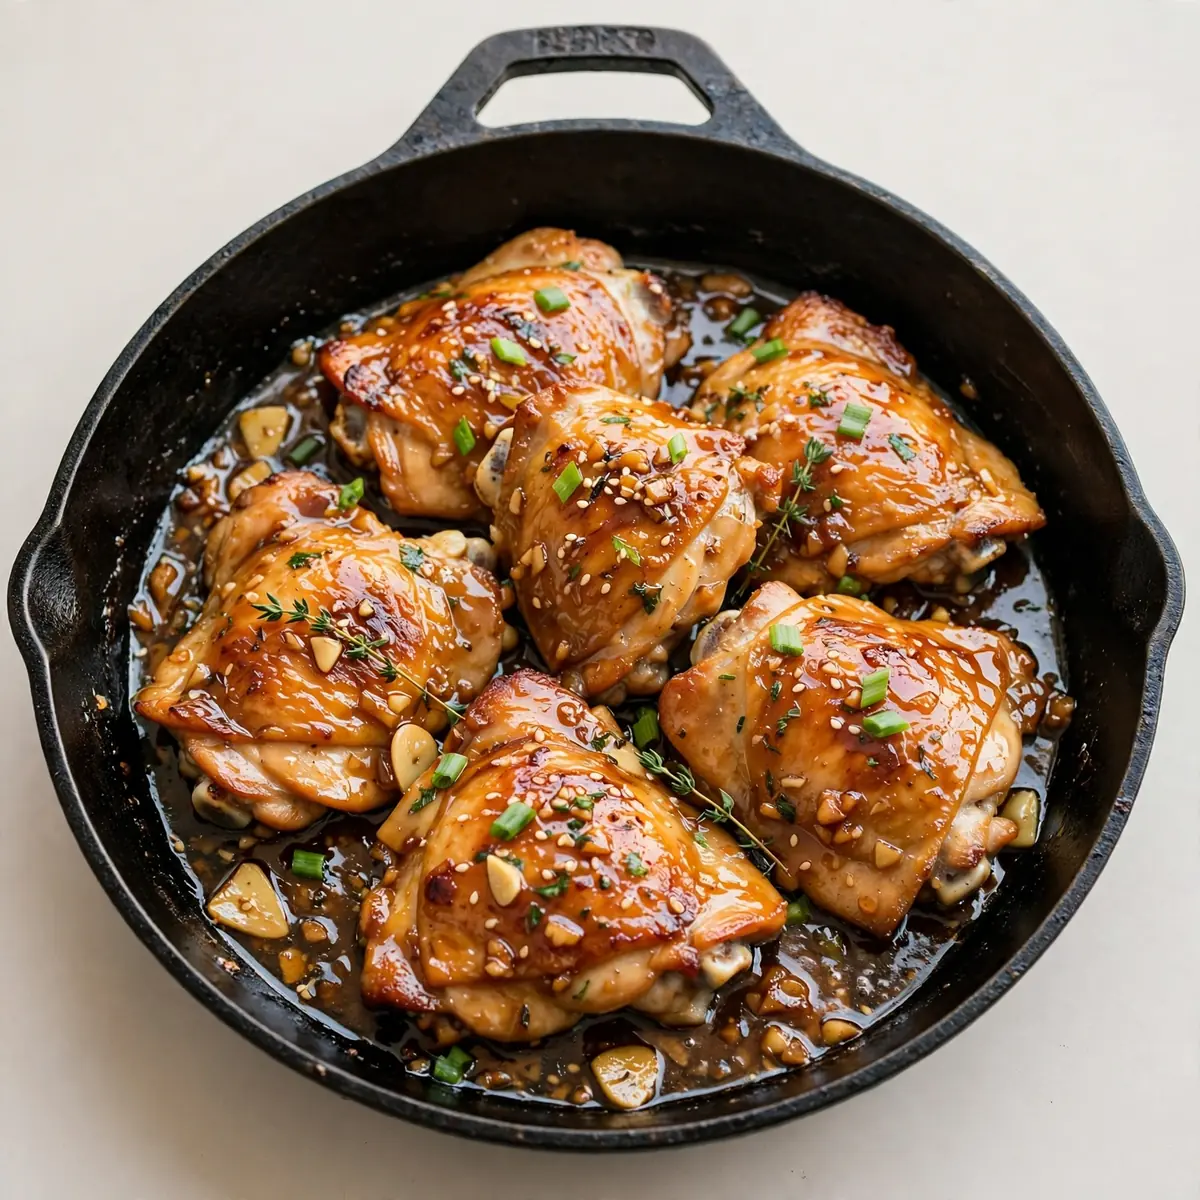
Some nights, you need dinner to cook itself while you sort out homework, school bags, and the thousand other tasks that fill a family evening. This honey garlic chicken thighs skillet has rescued countless midweek meals in my home, delivering sticky, savoury-sweet results in under thirty minutes with just one pan to wash up.
Recipe Overview
- Prep time: 10 minutes
- Cook time: 20 minutes
- Total time: 30 minutes
- Servings: 4
- Difficulty: Easy
Why You’ll Love This Honey Garlic Chicken Thighs Skillet
- One-pan cooking: Everything comes together in a single skillet, which means fewer dishes and a quicker post-dinner clean-up, while the Slow Cooker Mississippi Pot Roast uses just one pot for even easier cleanup. I can have this washed and dried before the children finish their homework.
- Pantry-friendly ingredients: You likely already have honey, soy sauce, garlic, and basic spices in your cupboards. This recipe works with what you have, no special shopping required.
- Make-ahead magic: The sauce can be mixed the night before, and the chicken can be marinated in the morning. On busy evenings, you simply sear and simmer.
- Kid-approved flavour: The sweet honey and savoury garlic combination appeals to even the pickiest eaters. Friends always ask me for this recipe after trying it at dinner parties, and their children devour it too.
- Budget-friendly cut: Chicken thighs are considerably cheaper than breasts and stay juicier during cooking, giving you better value for your weekly shop.
Ingredients You’ll Need
- 8 boneless, skinless chicken thighs (about 800g)
- 60ml honey
- 60ml soy sauce (or tamari for gluten-free)
- 4 cloves garlic, minced
- 1 tablespoon tomato puree
- 2 tablespoons vegetable oil
- 1 teaspoon ground ginger
- ½ teaspoon black pepper
- ½ teaspoon salt
- 120ml chicken stock
- 1 tablespoon cornflour mixed with 2 tablespoons water (slurry)
- 1 tablespoon sesame seeds (optional, for garnish)
- 2 spring onions, sliced (optional, for garnish)
Tip: Boneless, skinless chicken thighs work best here because they cook quickly and remain tender. If you only have bone-in thighs, increase the simmering time by 8-10 minutes and check for doneness with a meat thermometer reaching 74°C.
How to Make Honey Garlic Chicken Thighs Skillet
- Prepare the chicken: Pat the chicken thighs dry with kitchen paper. Season both sides generously with salt and pepper. Drying the surface ensures a beautiful golden-brown sear rather than steaming the meat.
- Make the sauce: In a small mixing bowl, whisk together the honey, soy sauce, minced garlic, tomato puree, ground ginger, and chicken stock until fully combined. The mixture should look glossy and smell aromatic from the garlic and ginger.
- Sear the chicken: Heat the vegetable oil in a large frying pan over medium-high heat until it shimmers and slides easily across the pan. Place the chicken thighs in a single layer, being careful not to overcrowd. Cook for 4-5 minutes until the underside is deep golden brown and releases easily from the pan. Flip and cook the other side for another 3-4 minutes. You should hear a steady sizzle throughout this stage.
- Add the sauce: Pour the prepared honey garlic sauce over the seared chicken. The liquid should bubble immediately around the edges. Bring to a gentle simmer, then reduce the heat to medium-low. The sauce will thin out initially before beginning to thicken.
- Simmer until cooked through: Cover the pan partially with a lid and let the chicken simmer for 10-12 minutes. The chicken should feel firm to the touch and reach an internal temperature of 74°C. The sauce will reduce and become slightly syrupy, coating the back of a spoon.
- Thicken the sauce: Remove the chicken to a plate and whisk in the cornflour slurry. Increase the heat to medium and stir constantly for 1-2 minutes until the sauce thickens to a glossy, clingy consistency. You should see it coat the spoon thickly rather than dripping off.
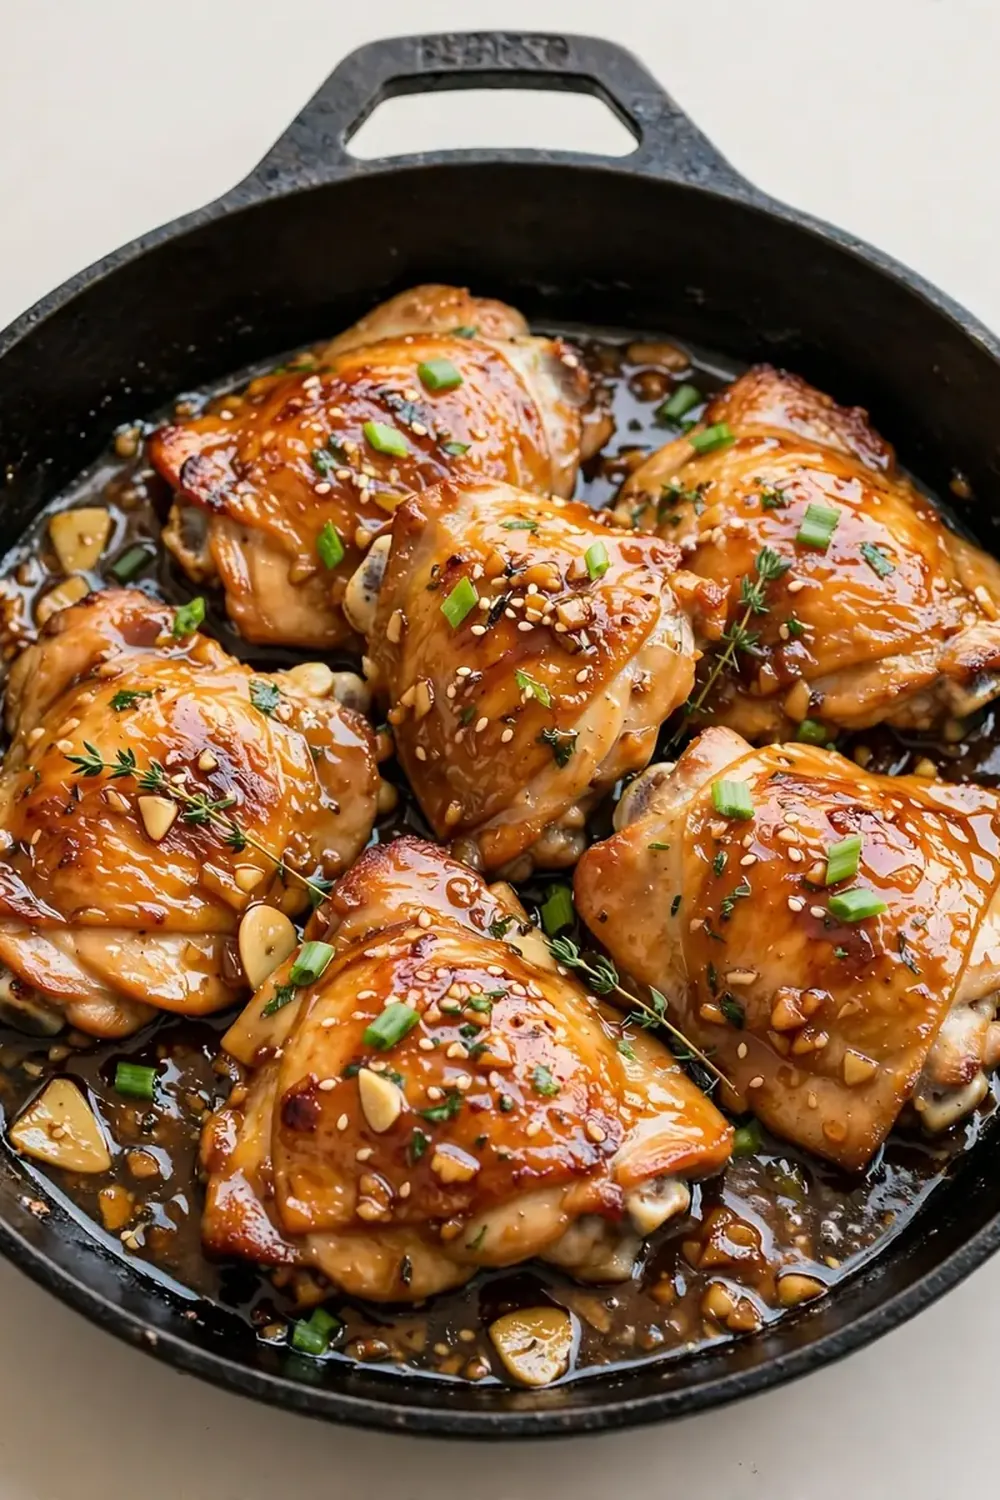
- Finish and serve: Return the chicken to the pan, turning each piece to coat in the thickened sauce. Sprinkle with sesame seeds and sliced spring onions if using. The final dish should have a sticky, lacquered appearance with a sweet-savoury aroma filling your kitchen.
Tips From My Kitchen
- Don’t skip drying the chicken: Moisture is the enemy of a good sear. Patting the thighs dry with kitchen paper removes surface moisture that would otherwise create steam, preventing that deep golden crust from forming. This step takes thirty seconds but transforms the final texture.
- Use a heavy-bottomed pan: A cast-iron skillet or stainless steel pan distributes heat evenly and holds temperature better than non-stick alternatives. This means the chicken sears properly without hot spots that could burn the honey later. I used to struggle with this dish until I discovered this technique using my cast-iron pan.
- Watch your heat with honey: Honey burns faster than sugar because it contains natural sugars that caramelise at lower temperatures. If you notice the sauce darkening too quickly, reduce the heat immediately. A gentle simmer is all you need for tender, not burnt, results.
- Double the sauce if you love extra: This recipe creates enough sauce to lightly coat the chicken. If your family likes extra sauce for rice or vegetables, simply double the honey, soy sauce, garlic, and stock quantities. The cooking time remains the same.
- Make it ahead for busy weeks: Prepare the sauce up to three days in advance and store it in the fridge. You can also season and portion the chicken thighs into a container the night before. On cooking day, you only need to sear and simmer, reducing active time to about fifteen minutes.
- Freeze for future meals: This dish freezes beautifully for up to three months. Cook as directed, cool completely, then transfer to freezer-safe containers. Reheat gently in a skillet with a splash of water to loosen the sauce. Perfect for those evenings when cooking feels impossible.
Equipment You’ll Need
- Large frying pan or skillet (preferably cast-iron or stainless steel)
- Sharp knife and cutting board
- Mixing bowls (one small, one medium)
- Wooden spoon or spatula
- Measuring spoons and jug
- Kitchen paper
- Meat thermometer (optional but recommended)
Common Mistakes to Avoid
- Overcrowding the pan: Adding too many chicken thighs at once lowers the pan temperature, causing the meat to steam rather than sear. Cook in batches if necessary, keeping the first batch warm on a plate while you finish the rest. The golden crust is crucial for texture and flavour development.
- Wrong temperature: Cooking the sauce at too high a heat will burn the honey before the chicken is cooked through, leaving you with a bitter, dark mess. Keep the heat at medium-low after adding the sauce, and only increase it at the end to thicken the slurry.
- Skipping the rest time: Cutting into the chicken immediately after cooking releases all the juices onto the plate, leaving dry meat behind. Let the chicken rest for 3-4 minutes after the final coating. This allows the juices to redistribute evenly throughout each thigh.
What to Serve With Honey Garlic Chicken Thighs Skillet
- Steamed jasmine rice or basmati rice to soak up the sticky sauce
- Steamed broccoli or green beans for a quick vegetable side
- A simple cucumber and sesame salad for freshness
- Egg noodles tossed in a little sesame oil
- Roasted sweet potato wedges for a heartier meal
Still hungry for ideas? You might also love Rich Creamy Garlic Chicken With Spinach Skillet, Honey Garlic Glazed Salmon from our sister kitchens.
Frequently Asked Questions
Honey Garlic Chicken Thighs Skillet
Ingredients
Method
-
Prepare the chicken: Pat the chicken thighs dry with kitchen paper. Season both sides generously with salt and pepper. Drying the surface ensures a beautiful golden-brown sear rather than steaming the meat.
-
Make the sauce: In a small mixing bowl, whisk together the honey, soy sauce, minced garlic, tomato puree, ground ginger, and chicken stock until fully combined. The mixture should look glossy and smell aromatic from the garlic and ginger.
-
Sear the chicken: Heat the vegetable oil in a large frying pan over medium-high heat until it shimmers and slides easily across the pan. Place the chicken thighs in a single layer, being careful not to overcrowd. Cook for 4-5 minutes until the underside is deep golden brown and releases easily from the pan. Flip and cook the other side for another 3-4 minutes. You should hear a steady sizzle throughout this stage.
-
Add the sauce: Pour the prepared honey garlic sauce over the seared chicken. The liquid should bubble immediately around the edges. Bring to a gentle simmer, then reduce the heat to medium-low. The sauce will thin out initially before beginning to thicken.
-
Simmer until cooked through: Cover the pan partially with a lid and let the chicken simmer for 10-12 minutes. The chicken should feel firm to the touch and reach an internal temperature of 74°C. The sauce will reduce and become slightly syrupy, coating the back of a spoon.
-
Thicken the sauce: Remove the chicken to a plate and whisk in the cornflour slurry. Increase the heat to medium and stir constantly for 1-2 minutes until the sauce thickens to a glossy, clingy consistency. You should see it coat the spoon thickly rather than dripping off.
-
Finish and serve: Return the chicken to the pan, turning each piece to coat in the thickened sauce. Sprinkle with sesame seeds and sliced spring onions if using. The final dish should have a sticky, lacquered appearance with a sweet-savoury aroma filling your kitchen.
Notes
I hope this honey garlic chicken thighs skillet becomes your go-to for those frantic weeknights when you need something delicious without the fuss. Drop a comment below to let me know how it turned out for your family, or share your own twist on the recipe. I read every single comment and love hearing about your kitchen successes.